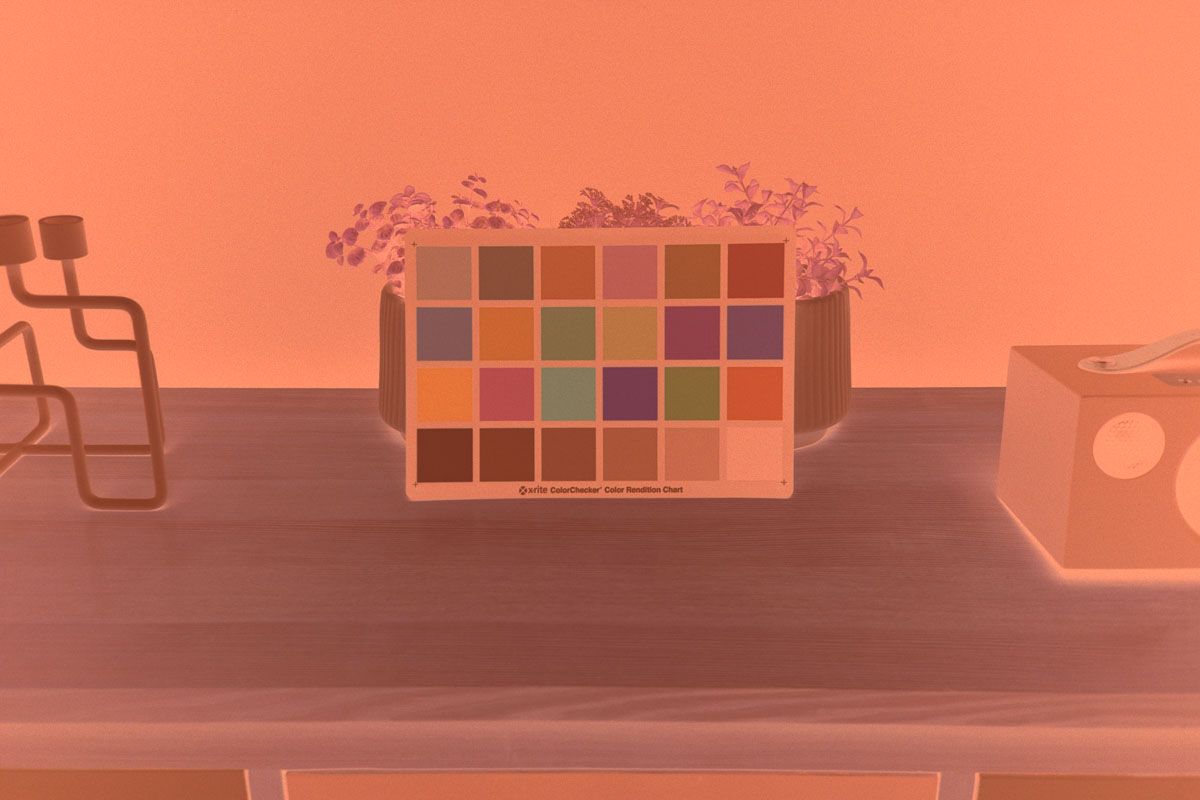
Learning how to convert colour negatives in Photoshop requires more than simply inverting the image. Unfortunately, that almost always produces poor colours, flat contrast and a noticeable cyan colour cast (see Figure 1).
This happens because colour negative film is not a simple reversed version of the original scene. Each of the three colour-sensitive layers has a different characteristic response, while the orange film mask shifts the colour balance captured by the scanner or camera.
To achieve a natural-looking positive, the negative must be colour corrected before inversion. In this guide, I’ll show you a Photoshop workflow based on the principles described in the paper Scanning Colour Negatives that compensates for these characteristics and produces accurate colours from scanned film negatives.

TL;DR
To convert colour negatives to digital with accurate colours in Photoshop:
- Assign a linear (Gamma 1.0) profile when working with linear TIFF scans from a dedicated film scanner (skip this step for DSLR scans).
- White balance the orange film base.
- Balance the red, green and blue channel densities.
- Invert the negative into a positive image.
- Adjust gamma and contrast to refine the final result.
This workflow corrects the unique characteristics of colour negative film, including the orange mask and differences between colour channels, producing natural-looking positives with accurate colour and contrast.
Why Are Colour Negatives Orange?
One of the most common questions people ask is:
Why are colour negatives orange?
The orange mask is deliberately built into colour negative film.
It compensates for imperfections in the cyan, magenta and yellow dye layers, so that colours separate correctly during analogue printing.
While this improves traditional darkroom printing, it creates problems when you convert colour negatives to digital, because the scanner records this orange mask as part of the image.
Removing or neutralising the orange mask is therefore one of the first steps in any successful film conversion workflow.
Why Doesn’t Simply Inverting the Image Work?
Many photographers try to convert negatives to positive photos by using:
Image → Adjustments → Invert
Although this changes the negative into a positive, the colours usually look wrong.
That’s because:
- the three colour layers have different characteristic curves
- the orange mask shifts every colour channel differently
- each film stock has slightly different colour characteristics
- development variations change the response of each roll
In other words, Photoshop is inverting inaccurate colour information.
To produce accurate colours, you first need to correct the scan.
Test Image
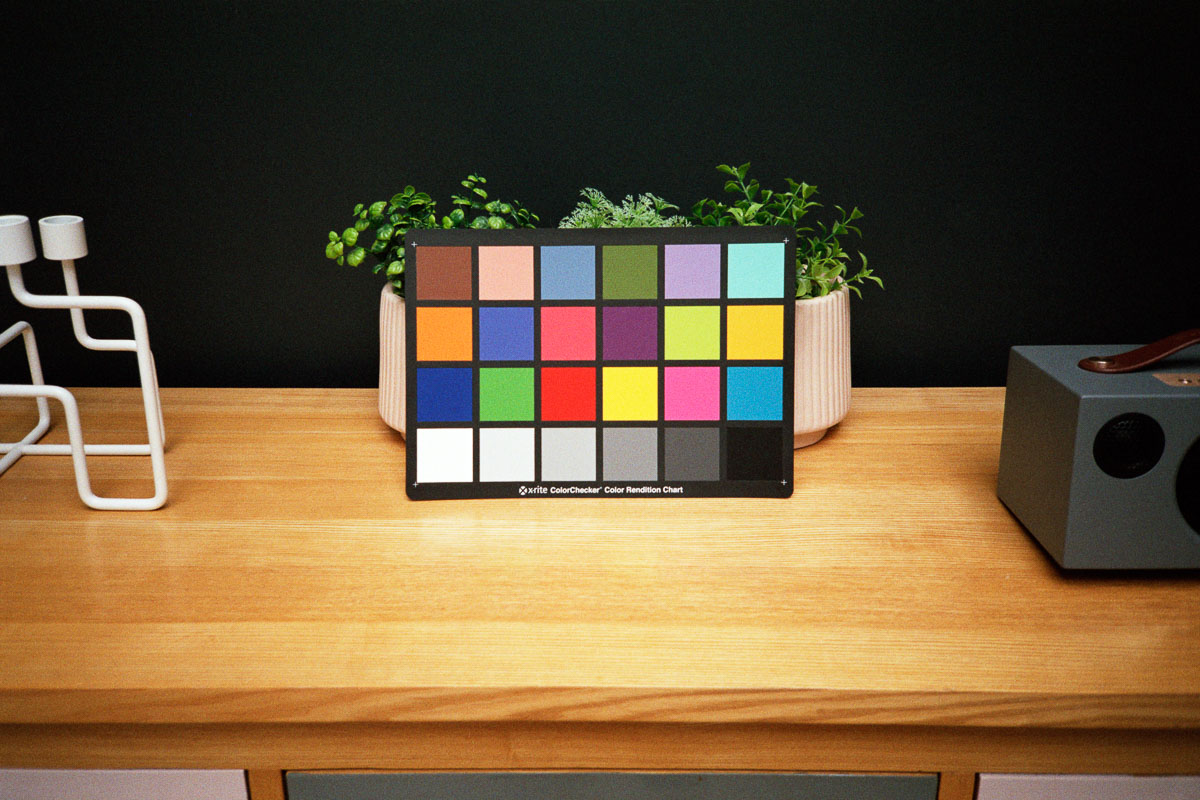
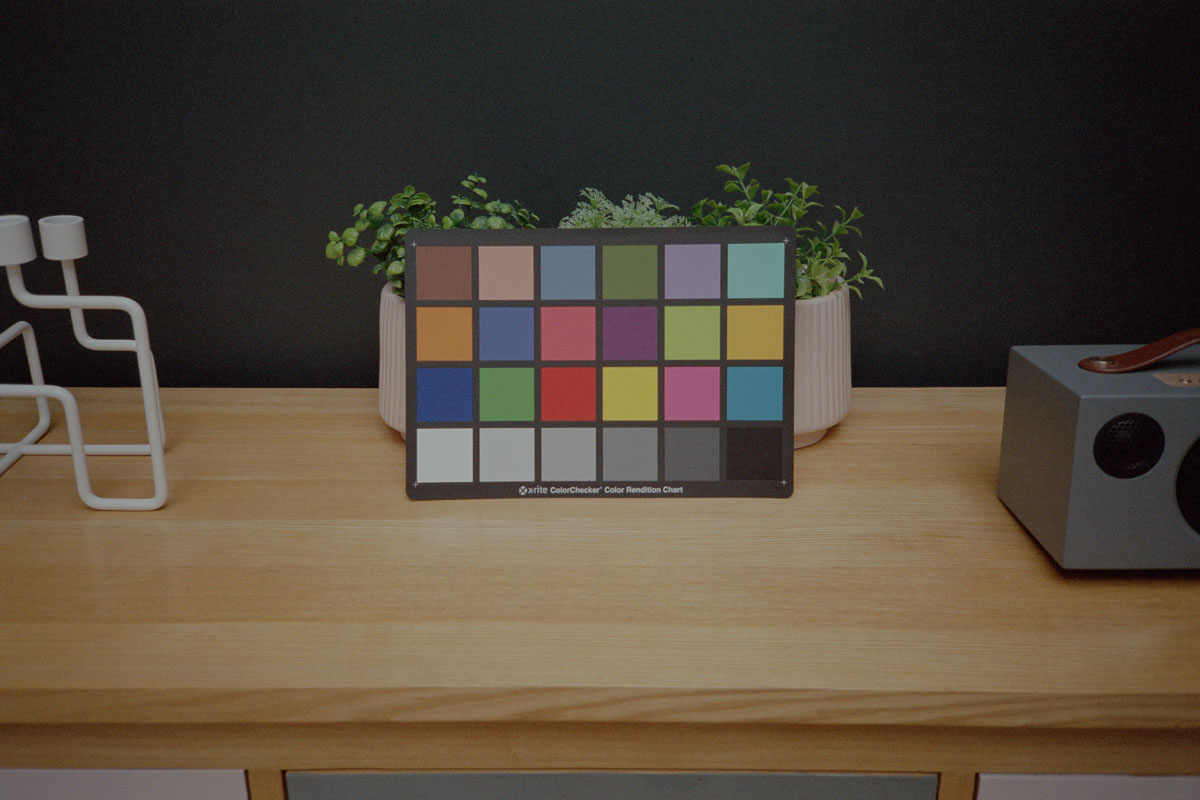
To demonstrate the workflow, I photographed an X-Rite ColorChecker using a Contax G2 loaded with Fuji Superia 200.
The negative was scanned as a linear RAW TIFF using a Minolta DiMAGE Scan Elite 5400 and VueScan.
Using a ColorChecker makes it easy to see exactly how each processing step improves colour accuracy.
Understanding these challenges is the first step to a successful conversion. The workflow below addresses them systematically, producing a neutral, colour-accurate positive from your scanned negative.
Step-by-Step Guide: How to Convert Colour Negatives in Photoshop
Step 1 — Assign a Linear Colour Profile
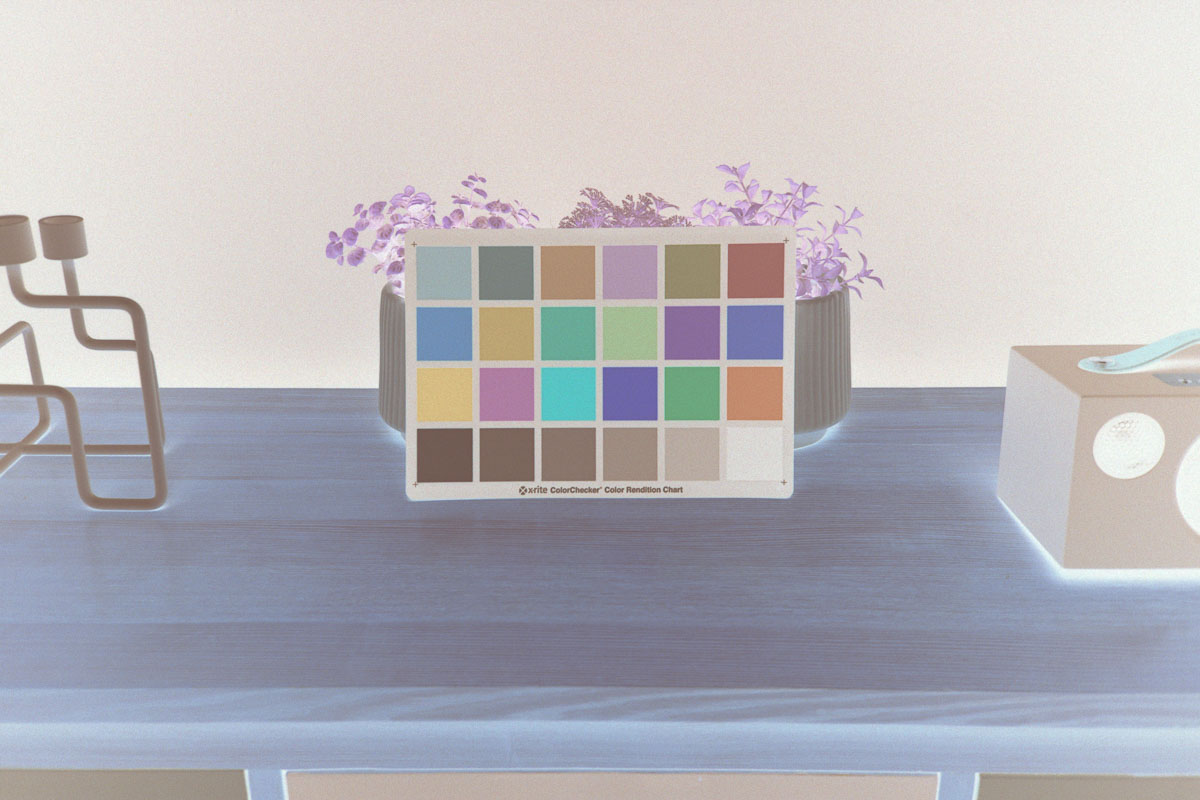
Assign a Gamma 1.0 profile using:
Edit → Assign Profile
You can download ready-to-use linear gamma profiles here: GitHub – elles_icc_profiles. Then convert the image back into your normal working space (Adobe RGB or sRGB). (See Figures 2–3).
Why?
Linear profiles preserve the true density values recorded by the scanner, making colour corrections much more accurate.

Step 2 — White Balance the Film Base
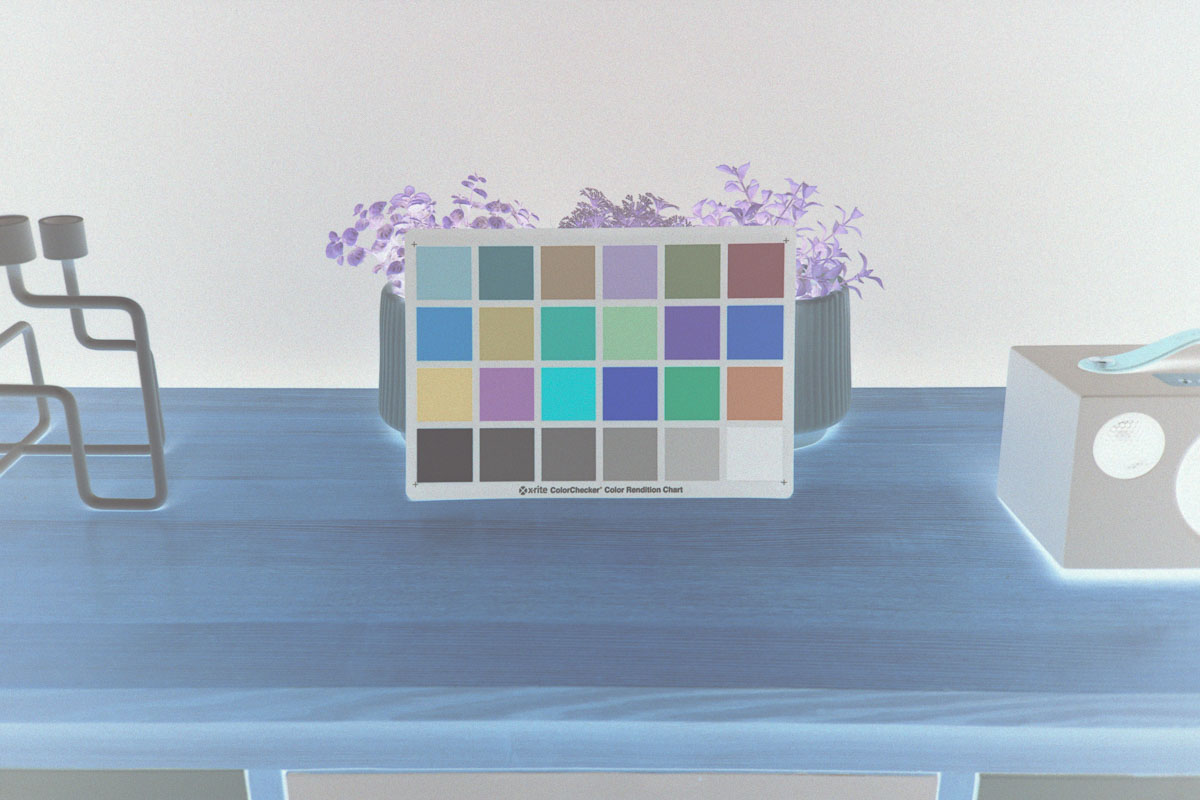
Locate an unexposed section of film (the film border).
Neutralise this area using Photoshop’s White Balance tool, setting a white point or by dividing the image using the sampled film base colour (see Figure 4).
Why?
This removes the orange mask before inversion, establishing a neutral reference for all three colour channels.
Step 3 — Balance the Red, Green and Blue Channels
Use a Curves adjustment layer.
Set the grey point using a neutral reference area, then adjust each colour channel independently until the RGB values are balanced (see Figure 5).
Why?
Each emulsion layer has a different gamma and characteristic curve.
Balancing the channels compensates for these differences and produces much more accurate colour after inversion.
Step 4 — Invert the Negative
Go to:
Image → Adjustments → Invert
This is the actual film inversion step (see Figure 6).
Because the colour channels have already been corrected, Photoshop now produces a clean positive instead of one with heavy colour casts.
Step 5 — Adjust Contrast and Gamma
Apply Auto Contrast (see Figure 7).
Then fine-tune the Curves adjustment by lowering the midpoint from approximately 128 to around 90 (adjust as required). (See Figure 8).
Why?
Even after successful inversion, scanned negatives usually look flatter than professional lab scans.
Increasing contrast restores depth while preserving highlight and shadow detail.

Can You Convert Black-and-White Negatives the Same Way?
The process is much simpler.
Unlike colour film, black-and-white negatives don’t contain three separate colour layers or an orange mask.
Just invert the image and adjust Levels or Curves to achieve the desired contrast.
Will This Work With DSLR Film Scanning?
Yes.
Although this tutorial uses a Minolta DiMAGE Scan Elite 5400 film scanner, the workflow also works if you convert film negatives to digital using a DSLR and lightbox.
The main difference is that DSLR scans are typically already gamma-corrected. So, the linear profile step can be omitted. The most important requirement is capturing a high-quality RAW image with accurate exposure and no clipped highlights or shadows.eps above, with no additional adjustments. Not bad, right?
Can One Set of Settings Be Used for Every Roll?
Usually, yes—for the same roll.
Once you’ve balanced one frame, the settings generally work for the remaining frames on that roll.
However, you’ll normally need to repeat the process for:
- different film stocks
- different rolls
- different development batches
Each roll has slightly different colour characteristics.
Optional — Recreate the Fuji Frontier Look
Once you’ve completed the technical conversion, you can apply a custom Curves adjustment to recreate the colour and contrast of Fuji Frontier mini-lab scans (see Figure 9).
Go to:
Layer → New Adjustment Layer → Curves
Then shape your tone curve with the following input/output settings:
| Channel | Point | Input | Output |
|---|---|---|---|
| Red | Shadows | 52 | 49 |
| Midtones | 124 | 138 | |
| Highlights | 203 | 227 | |
| Green | Shadows | 53 | 52 |
| Midtones | 122 | 133 | |
| Highlights | 199 | 223 | |
| Blue | Shadows | 51 | 46 |
| Midtones | 120 | 125 | |
| Highlights | 200 | 222 |

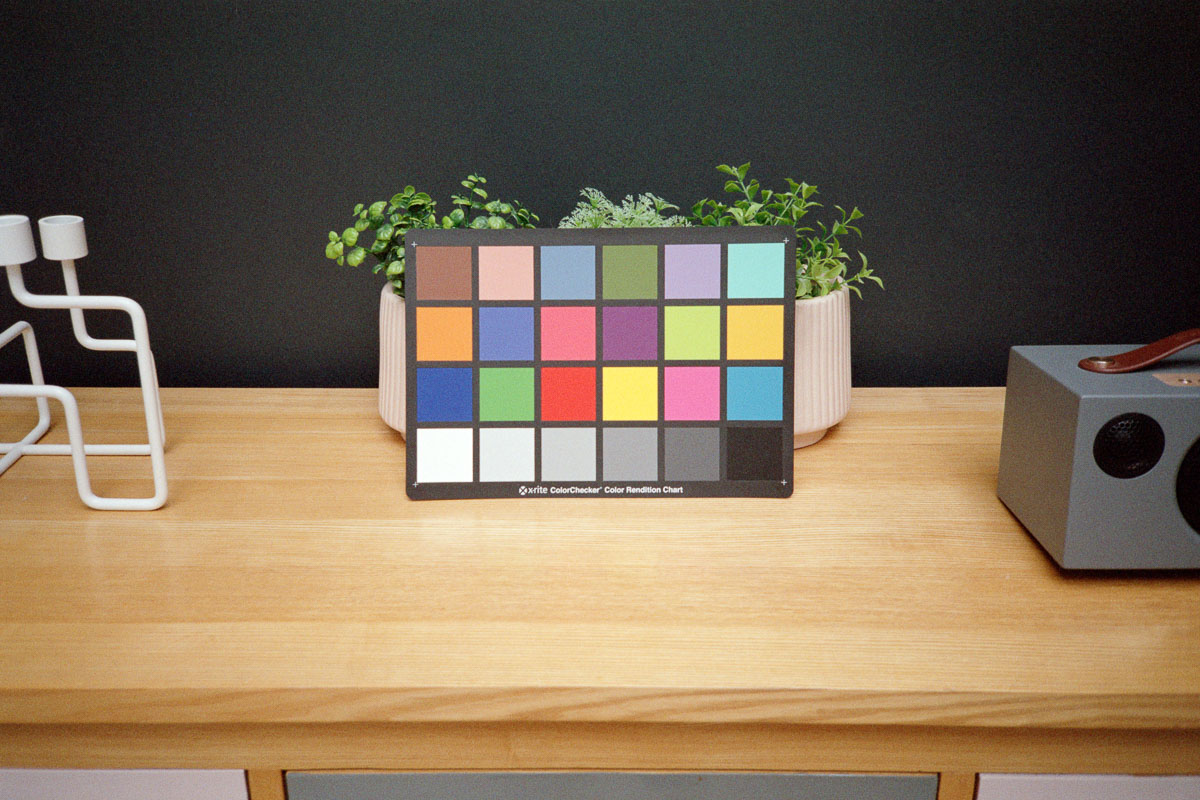
Photoshop vs Fuji Frontier Comparison
To see how closely the workflow above matches a professional lab scan, compare the Photoshop conversion (right) with a Fuji Frontier SP-3000 scan of the same negative (left).


Although the colours aren’t pixel-for-pixel identical, the overall tonal balance, colour accuracy and contrast are remarkably similar. The Photoshop workflow preserves shadow detail, produces neutral greys and recreates much of the characteristic warmth associated with Frontier scans, while giving you complete control over the final appearance.
For many photographers, this means you can convert colour negatives to digital at home and achieve results comparable to a professional lab without sacrificing image quality.
Final Thoughts
If you’ve ever searched for how to convert a negative photo to a positive, how to invert colour negatives in Photoshop, or how to turn negatives into positive photos, the key is understanding that successful film conversion is about more than simply inverting the image.
By neutralising the orange mask, balancing each colour channel and then performing the inversion, you can produce digital positives with colours that closely resemble professional lab scans while maintaining complete control over the final look.
Thanks for reading—and happy scanning!
Want to explore more?
If you enjoyed this guide, you might also like: